


Read the first part of this article where I downloaded and installed Umbraco version 6.1.1 on my machine manually. You could also read into how I ran into some trouble getting IIS up and running on a Windows 7 machine. Both articles would get to the point where I am starting off now...
Type in umbraco.local on your local machine and the Splash screen for Umbraco setup should appear on your browser...
To make it easier for any newbie to follow, I have added in some of the screengrabs as I went along setting up a Umbraco MVC Starter Kit
Umbraco Setup screen detailing the tasks at hand
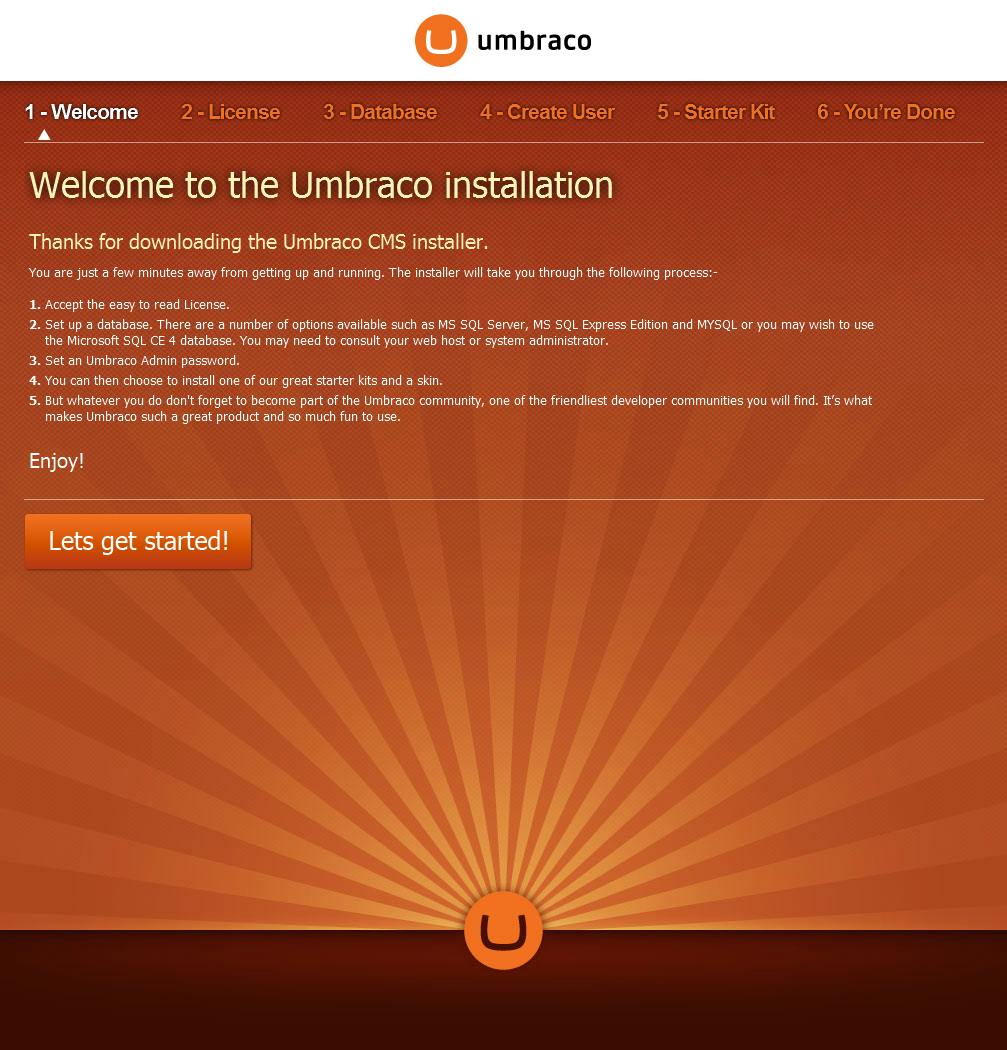
The initial screen details the following actions to be done:
- Accept the Umbraco License
- Setup a database
- Set an Admin password
- Install a starter kit
Configure database
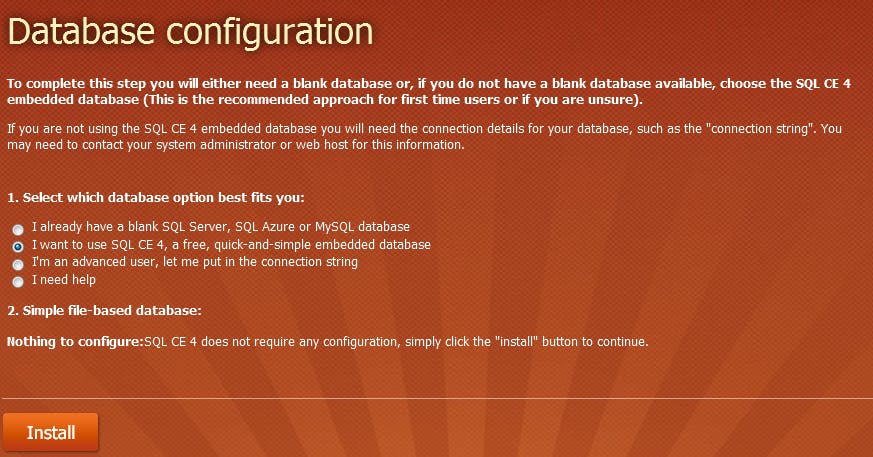
While configuring the database I opted to use the embedded database SQL CE 4, as it was easier to port across different machines and a hosting provider as well. I also needed the data to be stored in my Git repo so that I would have the same data across my different development environments.
The option to use SQL CE 4 does not make it necessary to provide connection details and login credentials as it would be needed for other database options provided.
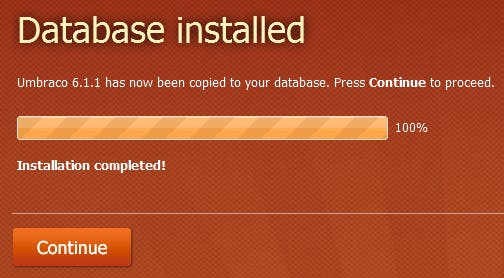
Database installation completed
Setting up an Admin password
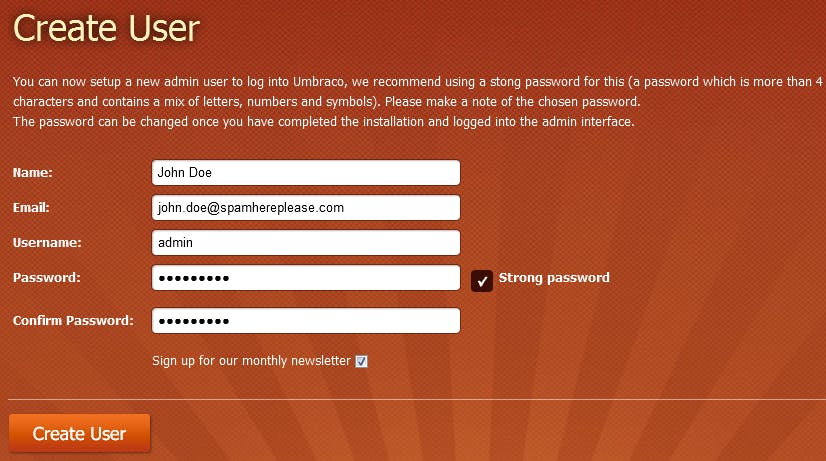
An admin user needs to be created to access the Umbraco back office and to be used as the superuser to create other users for the back office.
Installing a Starter Kit - I opted out of installing any of the pre-defined ones
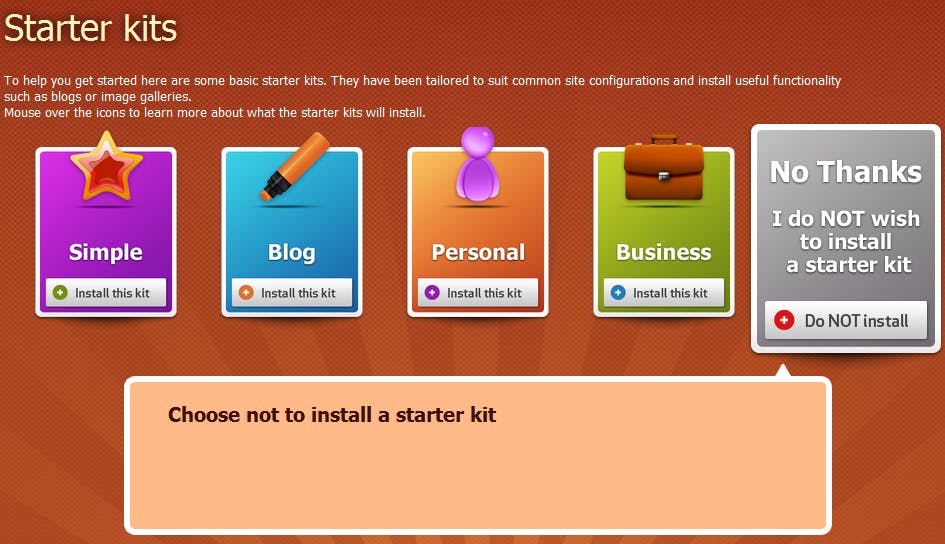
The next step is to install a Starter Kit. If you need to install the MVC Starter Kit, you should choose not to install a starter kit. This will enable you to install the MVC Starter Kit later on.
Successful Installation
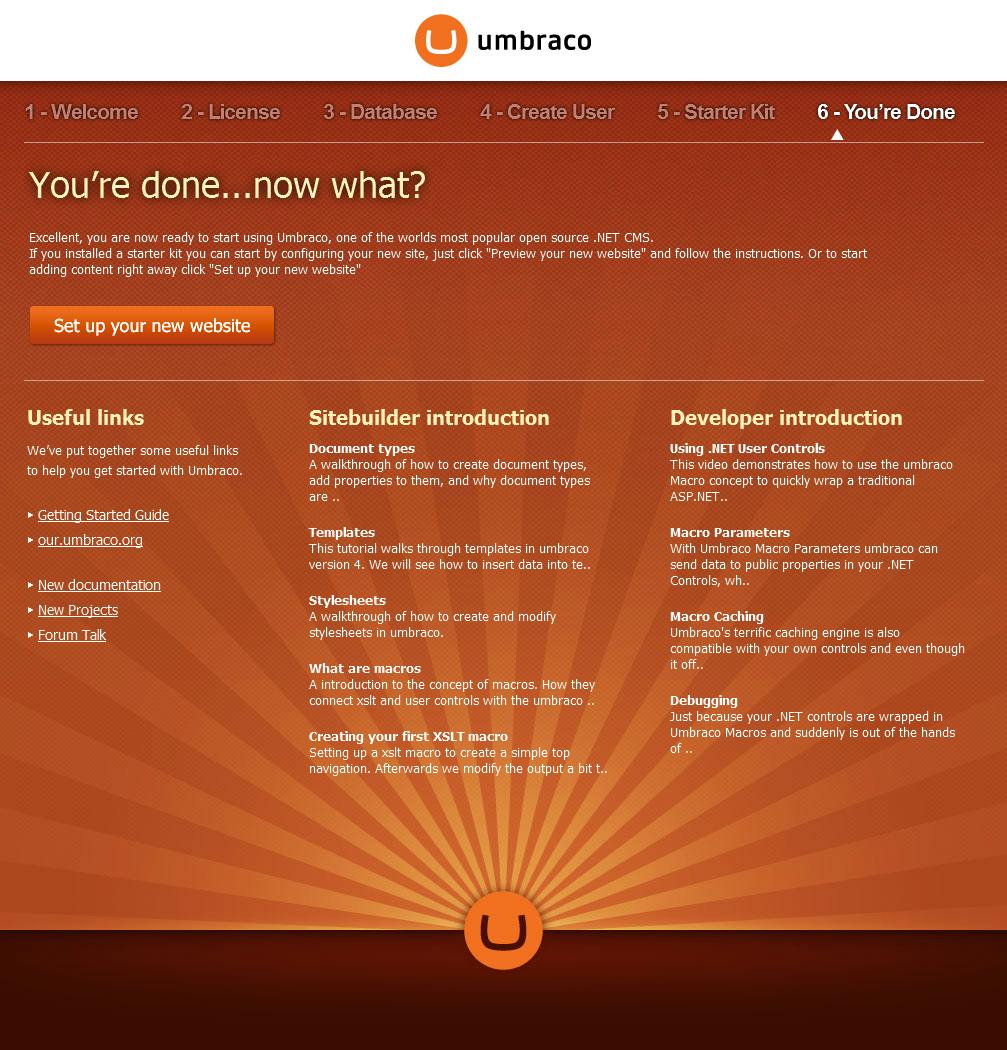
Above is the Successful Installation Screen after installation.
The initial back office screen after installation
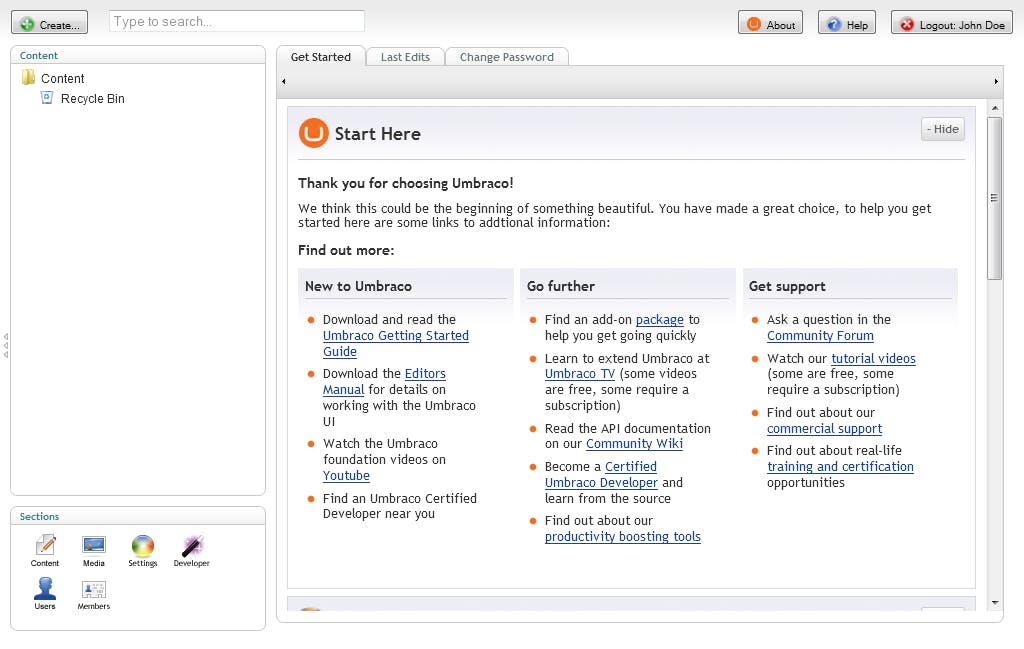
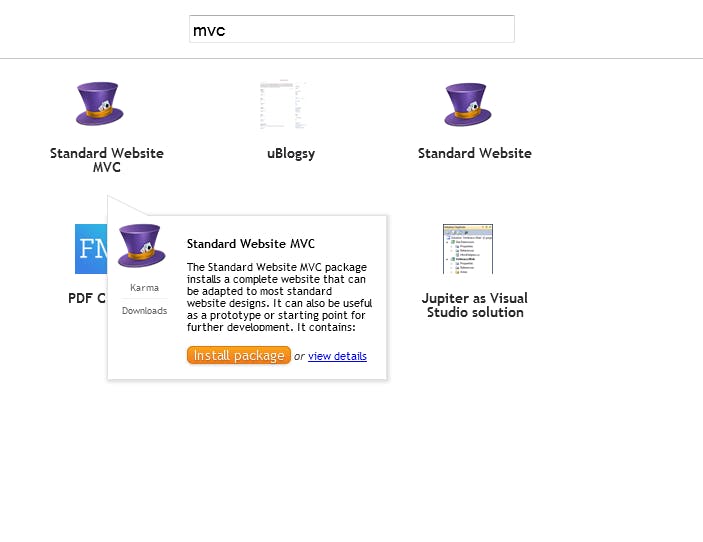
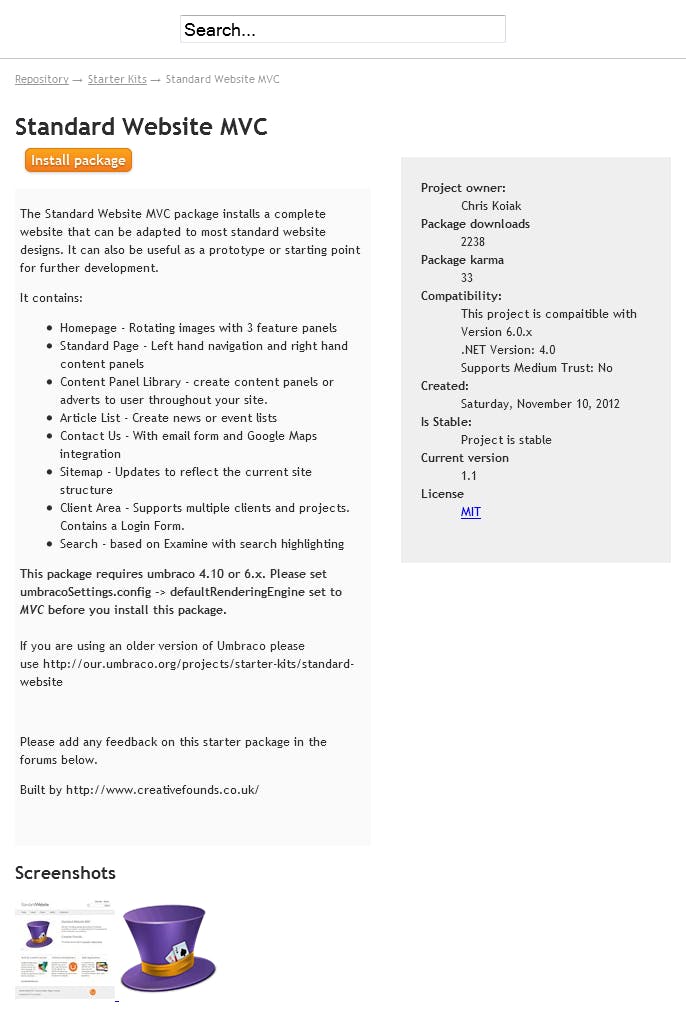
When you move into the initial back office screen after installation, you would need to go into the developer section to install the MVC Starter Kit. From there go to Developer -> Packages -> Umbraco package Repository. Once there search for "MVC". Ideally, the search results should bring up the "Standard Website MVC". Click on "Install package" to continue.
Search and install the Standard Website MVC Starter Kit
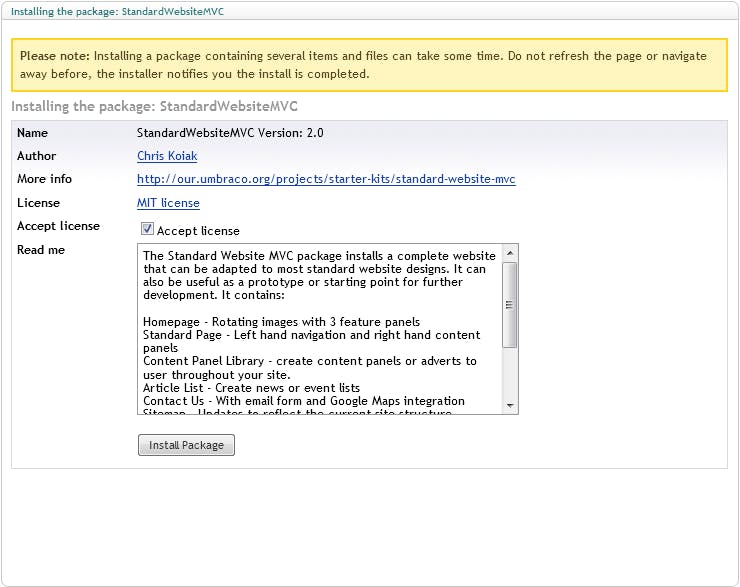
Standard Website MVC Package Installation
License Screen for the Standard Website MVC Package
The initial Umbraco back office screen after installation of the MVC package
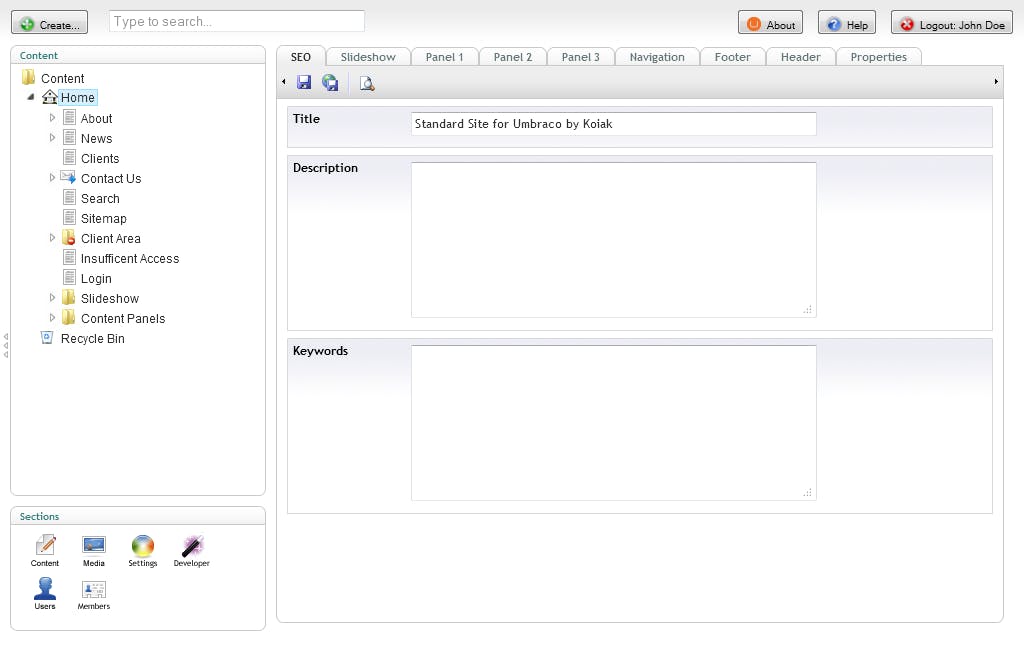
Once the Standard Website MVC package is installed, the Umbraco back office would look like the above screen. If you visit the website, it would appear as given below... Note that I have not published any pages or done any changes from the back office. These are the default screens once the "Standard Website MVC" package is installed.
The website soon after the package was installed
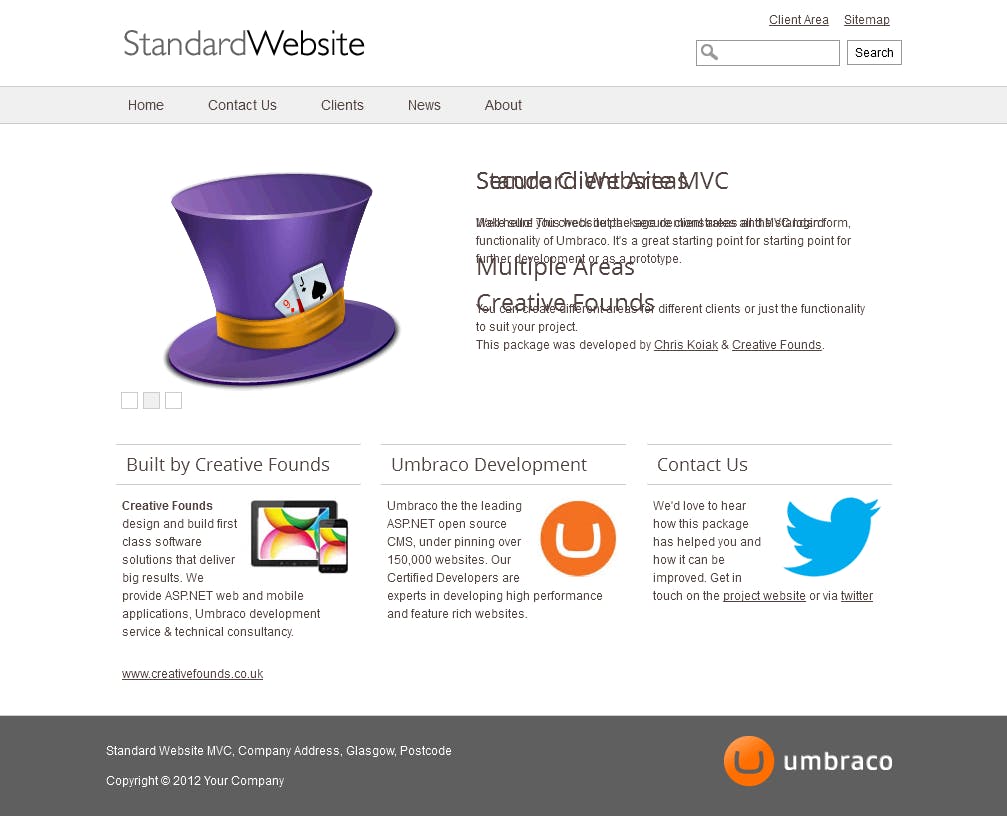
To access the website you should use the URL http://umbraco.local. To access the Umbraco back office you should use the URL http://umbraco.local/umbraco/umbraco.aspx.
Next on my list is getting this site up and running on a free hosting provider...
This article was originally written on Google's Blogger platform and ported to Hashnode on 17 Sep 2022.